Unique Identification Authority of India Offers E Aadhaar Card Download Option. All the Citizens of India must have a Clear Idea of 12 Digit Aadhar Card Number which is recognised as the Government Identity Card. After the Digitalisation in India, all the Cards and IDs are available on Digitally and Electronic Version.
E Aadhar Card is a 12 Digit Alphanumeric Identity Card. E Aadhaar Card Download Online PDF Step by Step Complete Process is available Here. One Can Check www.myaadhaar.uidai.gov.in Status Online by VID, SRN, EID or URN Number by Following the Steps Listed Below.
E Aadhaar Card 2024 Download
Download E Aadhaar Card Online by VID, SRN, EID, URN, and 14-digit Enrolment Number From Here. All the Citizens of India are hereby informed that the E Aadhar Card is Released in the Year 2012. The Ministry of Home Affairs and Unique Identification Authority of India has Released the E Aadhaar Card.
The Electronic Version of the Aadhar Card is E Aadhaar Card. The Aadhar Card Can Be Used As Residential Proof and Date of Birth Proof in many Government Official Departments. One Can Check www.myaadhaar.uidai.gov.in Status Online by Clicking on www.uidai.gov.in Status Online Check Link given below.
www.myaadhaar.uidai.gov.in Status Check Link
www.uidai.gov.in E Aadhaar Card Download Link to Access Online Application For National IDs, Bank Passbook, Trading and Many Other Official Uses. The Aadhar Card was Released in 2009. After Digitisation, the E Aadhaar Card was Released in 2012.
My Aadhaar App & Digilocker E Aadhaar Card App on Your Mobile will help you to Download E Aadhaar Card and to Check E Aadhaar Card Status. Visit www.myaadhaar.uidai.gov.in Official Website and Check Aadhaar Card Updates, Appointment Booking, File a Complaint, Complaint Status, Aadhaar Validity, PVC Aadhaar Card Apply Online, and Other E Aadhar Card Information given below.
E Aadhaar Card Download Online PDF
| Post For | E Aadhaar Card Download |
| E Aadhar Card Also Called | Electronic Version of Aadhar Card |
| E Aadhaar Card By | Unique Identification Authority of India |
| Mode | Online |
| E Aadhaar Card Launched In | 2012 |
| Article Category | Status |
| E Aadhaar Card Download By | By VID, Enrollment Number, & Aadhar Number |
| Use of E Aadhar Card | Can be Used in Phone and Paperless Identity |
| E Aadhaar Card Download Link | www.myaadhaar.uidai.gov.in |
| UIDAI Official Website | www.uidai.gov.in |
Steps For E Aadhaar Card Download PDF
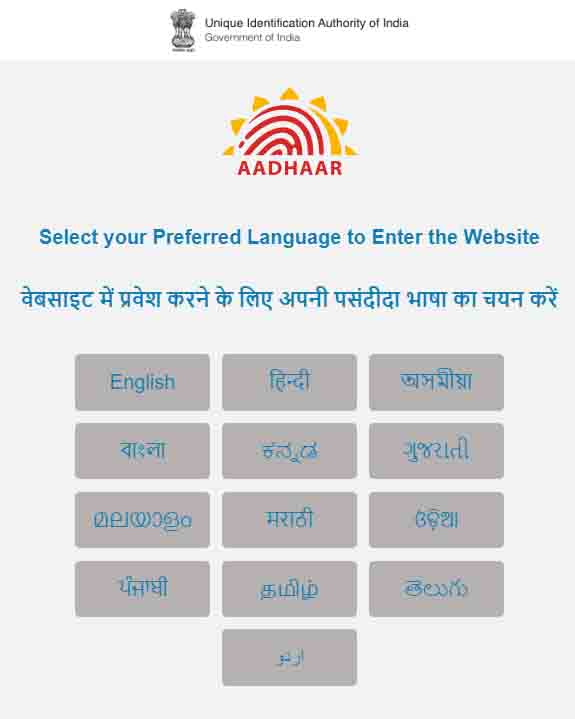
- Visit the Unique Identification Authority of India Official Website i.e. https://www.uidai.gov.in/.
- From Home Page Check E Aadhar Card Latest Update.
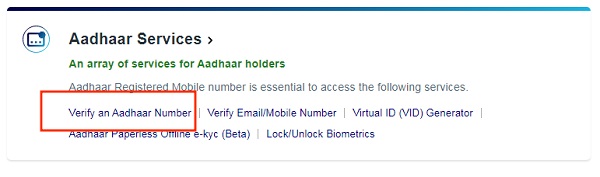
- Here Click on the Download Aadhaar Card Option.
- In the new tab, the E Aadhaar Card Download Page will Open.
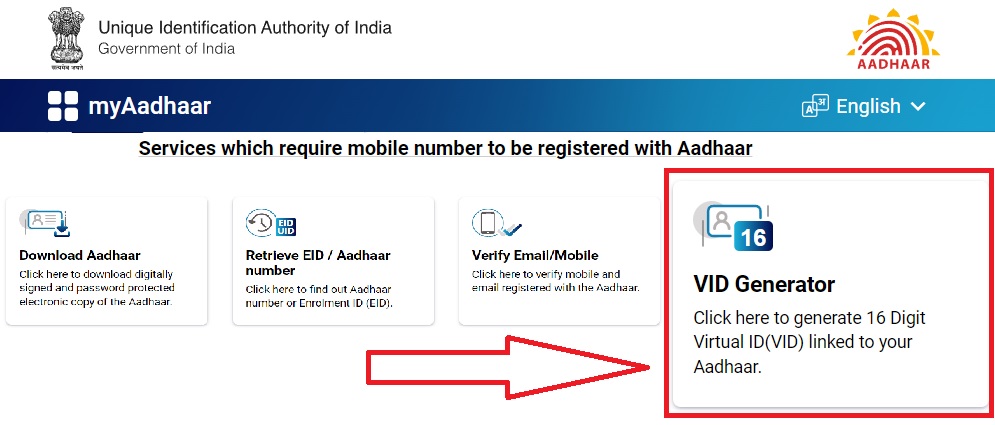
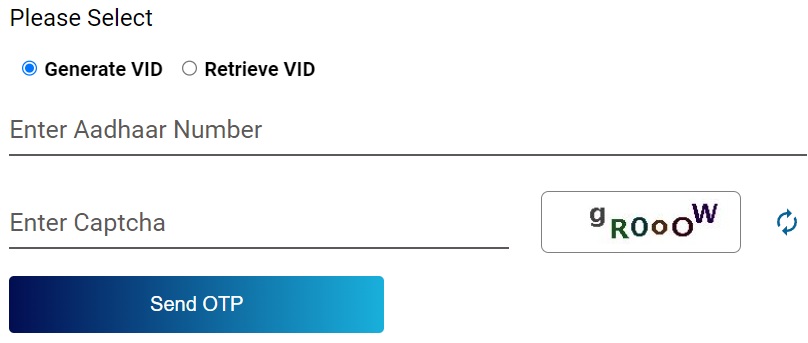
- Select 12 digit Aadhaar Number /16 digit Virtual ID (VID) / 28 digit Enrollment ID (EID)
- Enter Your Aadhaar Card Number.
- Fill in the Captcha Asked.
- Click on Submit at last.
- Now Enter OTP Send to the Registered Mobile Number.
- Click on Download and Verify Option.
- Open the Aadhar Card PDF by Combination the first four letters of your name (as in Aadhaar) in CAPITAL letters and Year of Birth in YYYY Format.
E Aadhar Card Download App (Digilocker)
- Citizens have to First Download E Aadhar Card Digilocker App From the Google Play Store.
- Enter the Digilocker App in the Search Bar of Option of the Google Play Store.
- Click on Install and Download.
- Open the Mobile App and Make Login Now.
- Enter 12-Digit Aadhaar Card Number and Click on Get OTP.
- Fill in the OTP and Click Verify.
- Click on E Aadhar Card PDF will Open.
- Now Click on the Download Icon Option.
- Open E Aadhar Card PDF with the First Four Capital Letters of Your Name and Date of Year.
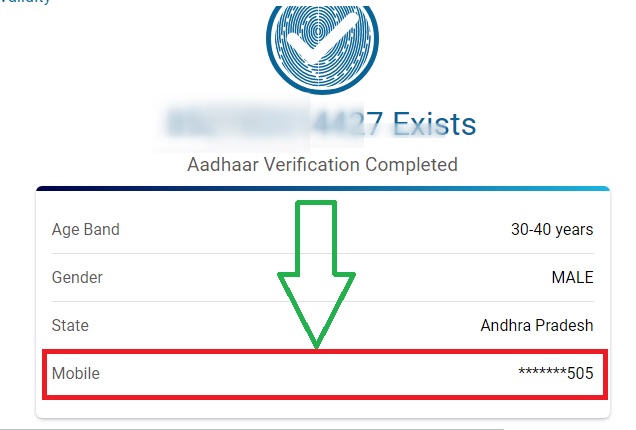
E Aadhar Card Status Online Check {uidai.gov.in Status}
- Visit the Unique Identification Authority of India Official Website i.e. https://www.uidai.gov.in/.
- From Home Page Check E Aadhar Card Latest Update.
- Here Click on the Check Aadhaar Update Status Option.
- In the new tab, the E Aadhaar Card Status Check Page will Open.
- Enter Enrolment ID, SRN or URN.
- Fill in the Captcha Asked.
- Click On Submit at last.
- On the Screen, Check E Aadhar Card Status Update.
www.uidai.gov.in E Aadhar Download Link
Click Here to Download E Aadhaar Card.